Printing camera rig parts: ttftw 2023w37
By Robert Russell
- 3 minutes read - 452 wordsThree things from this week.
This week I’ve got three little progress updates on the next gammacam build.
Updating the sensor head
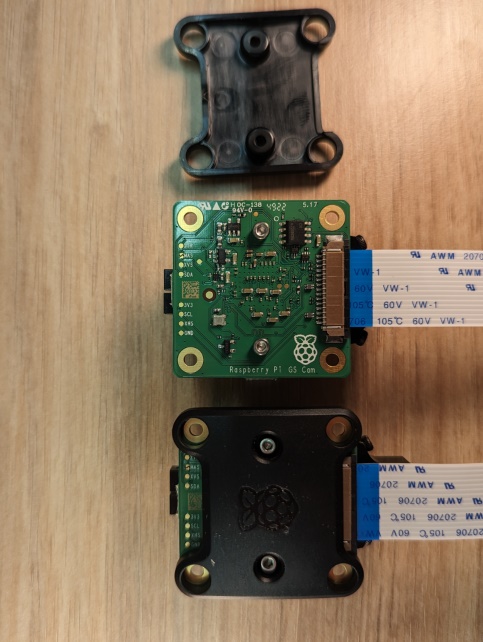
I thought I was going to need to change the design of my camera head a bit to fit the Raspberry Pi GS camera module.It turns out that the sensor head will work fine as-is. The plastic cover on the back of the GS camera module is easily removable.
Building a box
I always find it easier to iterate once I have some chunk of hardware sitting in my space. It’s a physical reminder of what I’ve done so far and also a prompt that says this is really happening, just keep going.
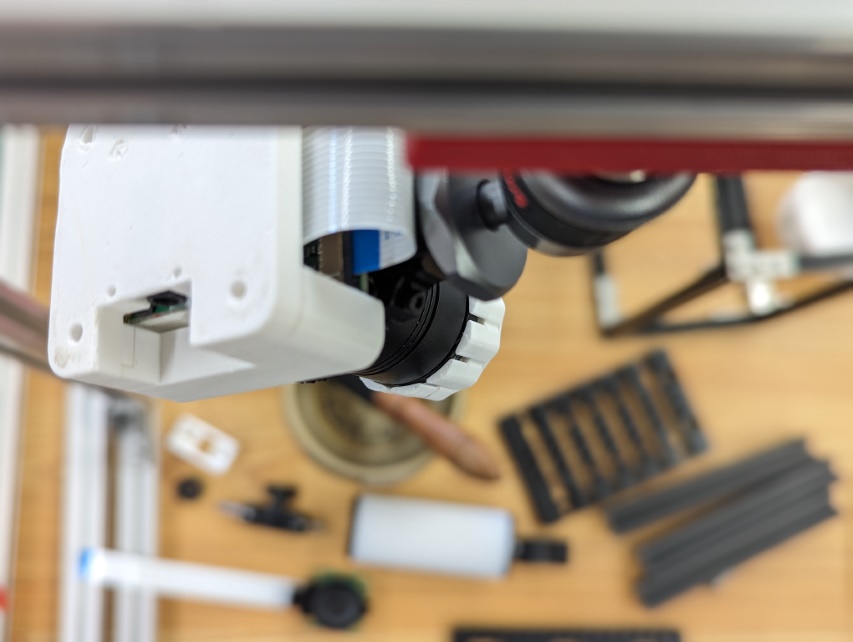
Since I want gammacam P7 to be an outside-in arrangement and I knew I’d be building a frame anyway, I decided to use the rig Adafruit published recently as a starting point. After all, a box is a box and I need a box. It’s a nice way to build a single downward-facing rig but it’s not going to hold all my parts as-is. It’s still a great skeleton to hang the first few parts from and it was fun to build. As I move along with things I’ll add more cross-members and experiment with the total volume I want to enclose.
Mounting camera parts on 2020 T-Slot
I like to work with metric. I also like to use parts that are readily available. The 1/4"-20 screw is everywhere on cameras. So there are lots of parts which adapt from the common camera mounting bolt size to every other standard. In the world of 2020 profile extruded aluminum it seems like M5 screws and nuts are pretty common. There might be some off-the-shelf part that will go from one size to the other but I have a lot of M5 hammerhead bolts and M5 t-nuts already, and I like to 3d print things. I made my own little mounting piece for a camera or accessory on T-slot. I used BOSL2 to speed up the design in OpenSCAD and came up with a simple part that’s easy to produce on my 3D printer.
Here’s the OpenSCAD design for the final draft.
$fn = 100;

include <BOSL2/std.scad>
include <BOSL2/screws.scad>

module draw_part() {
    difference() {
        up(3) cube([50, 20, 8], anchor=BOTTOM) {
            position(BOTTOM) cube([50, 6, 3], anchor=TOP);
        }
        // Camera mount size
        up(3) nut_trap_side(15, "1/4-20", spin=90)
            position(TOP) screw_hole(length=20,anchor=BOT);
        xcopies(36)
            // T-nut size
            cube([6, 6, 5],anchor=BOT)
                position(TOP) screw_hole("M5", length=6, anchor=BOT)
                    position(TOP) cube([15, 20, 4], anchor=TOP);
    }
}

draw_part();
And here’s what it looks like installed on the frame.
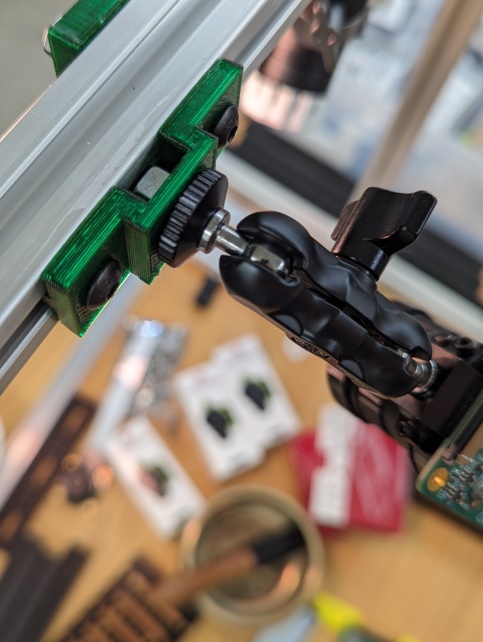
I printed it in PETG so it should last. It only takes about 20 minutes to print and it fits in place pretty well.